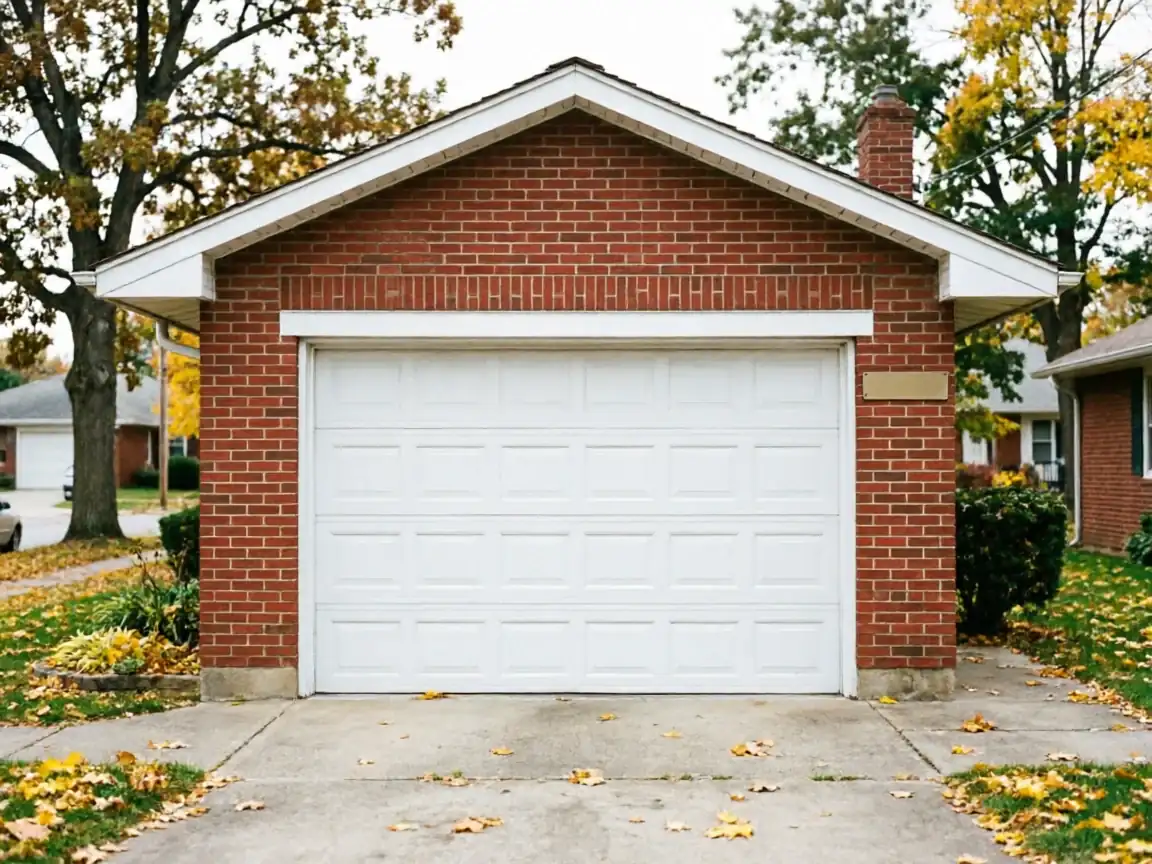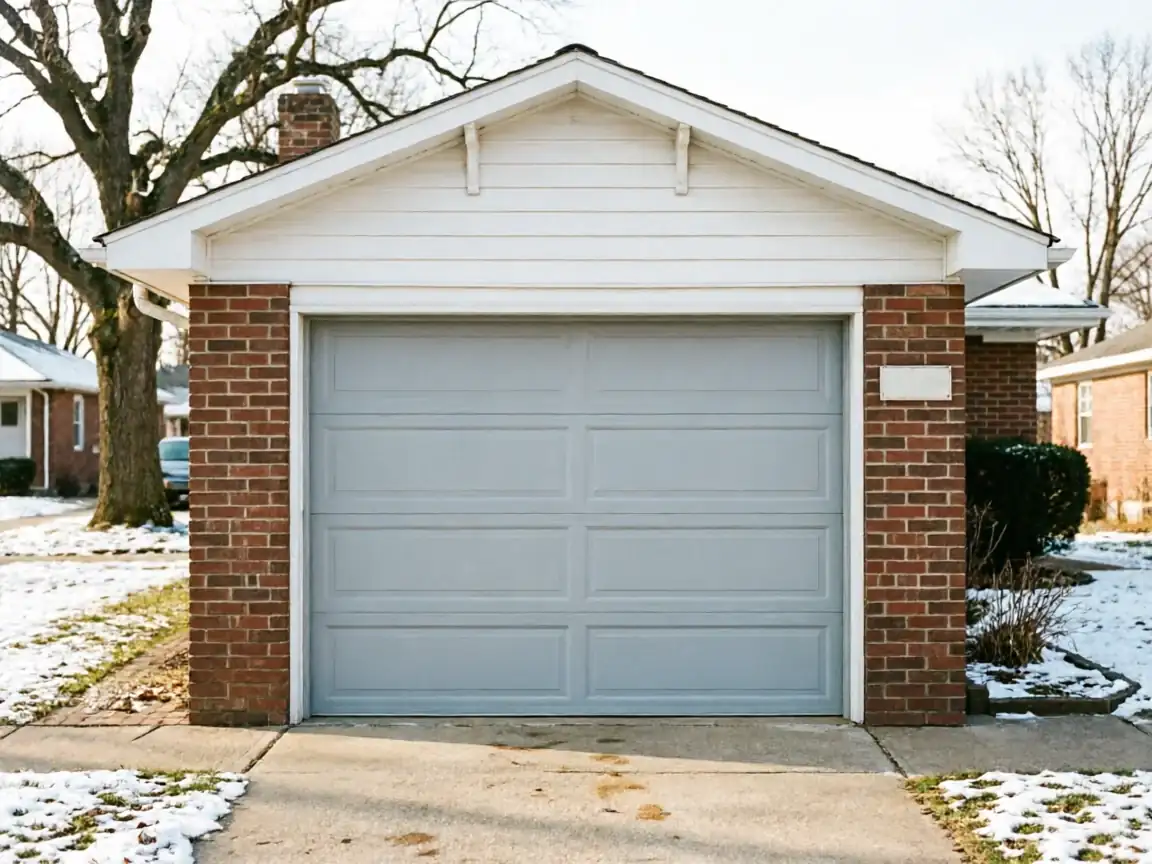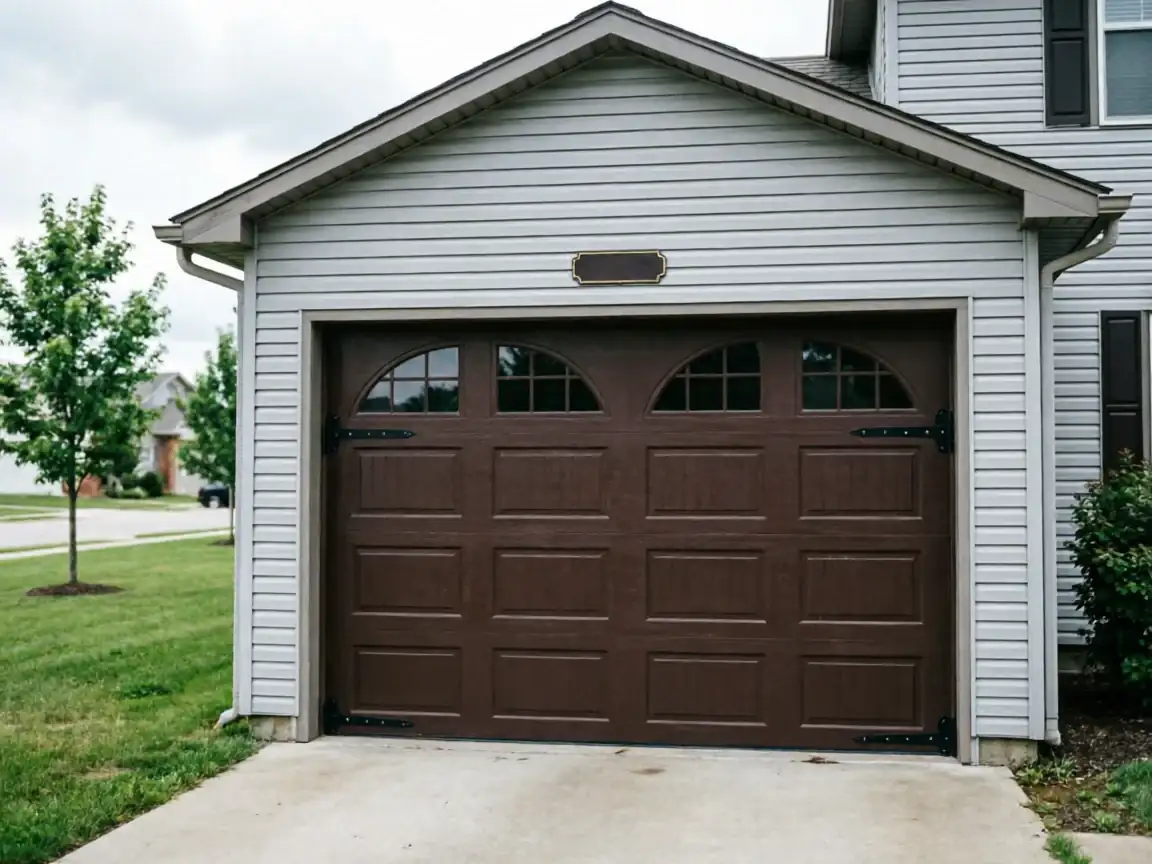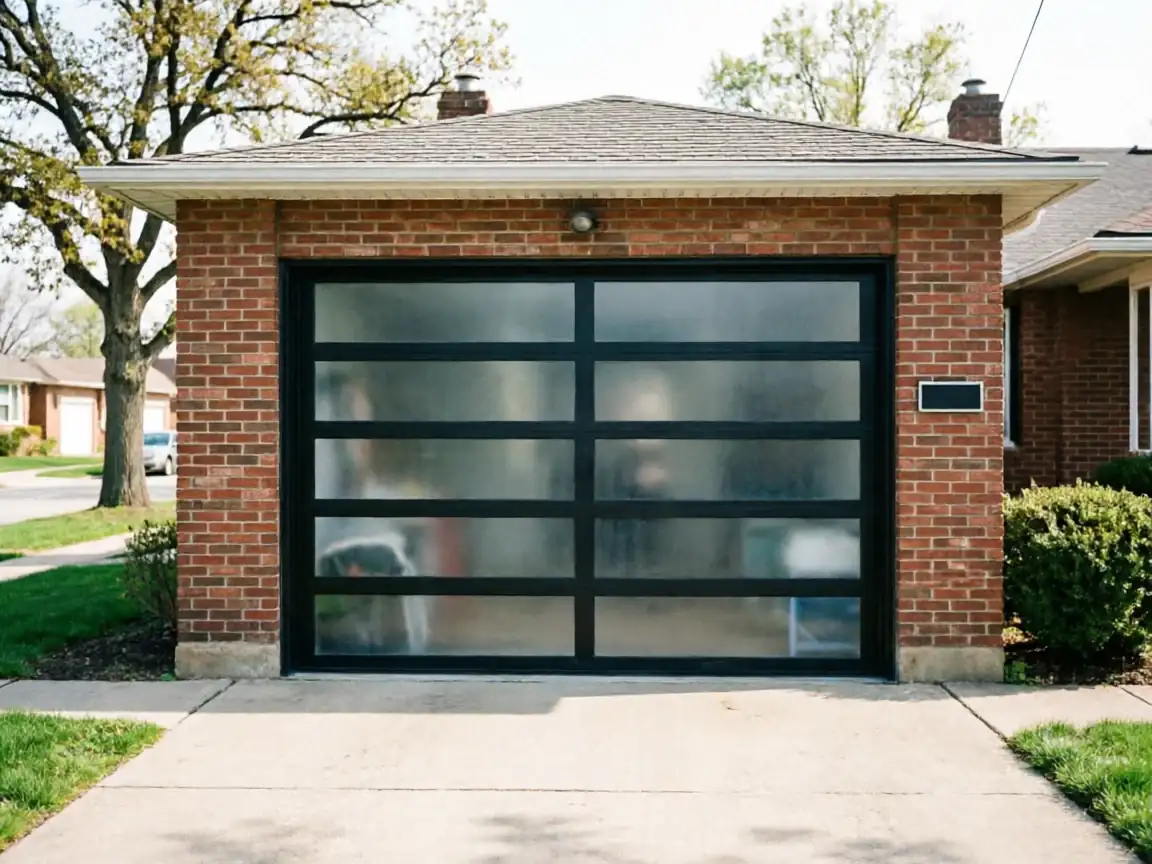
What the Fix Involves
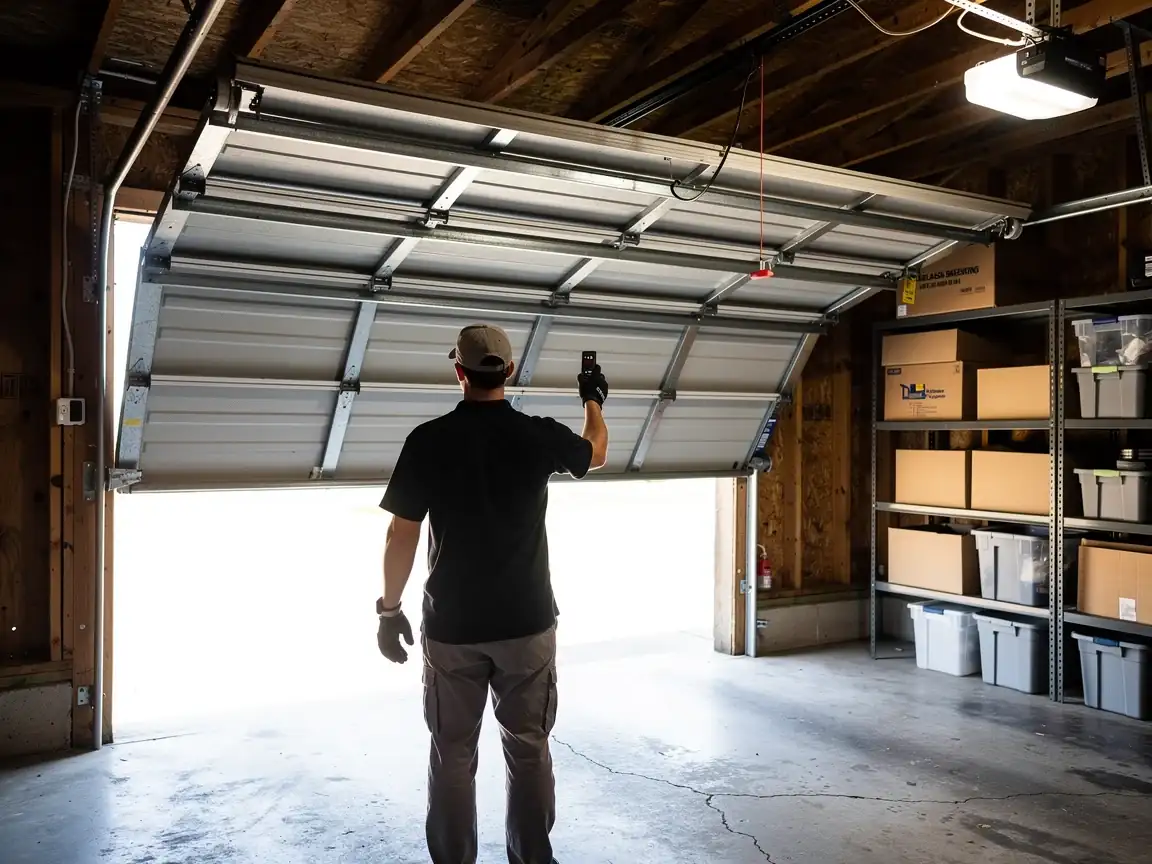
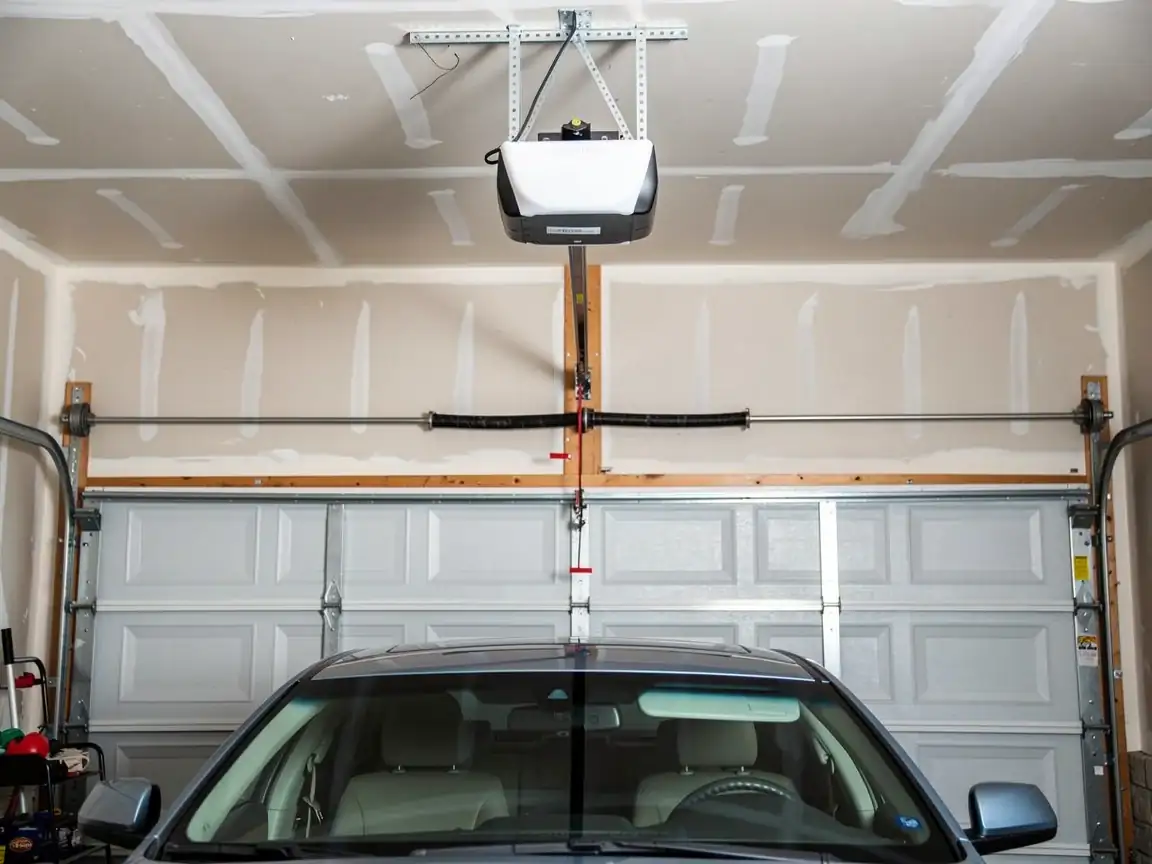
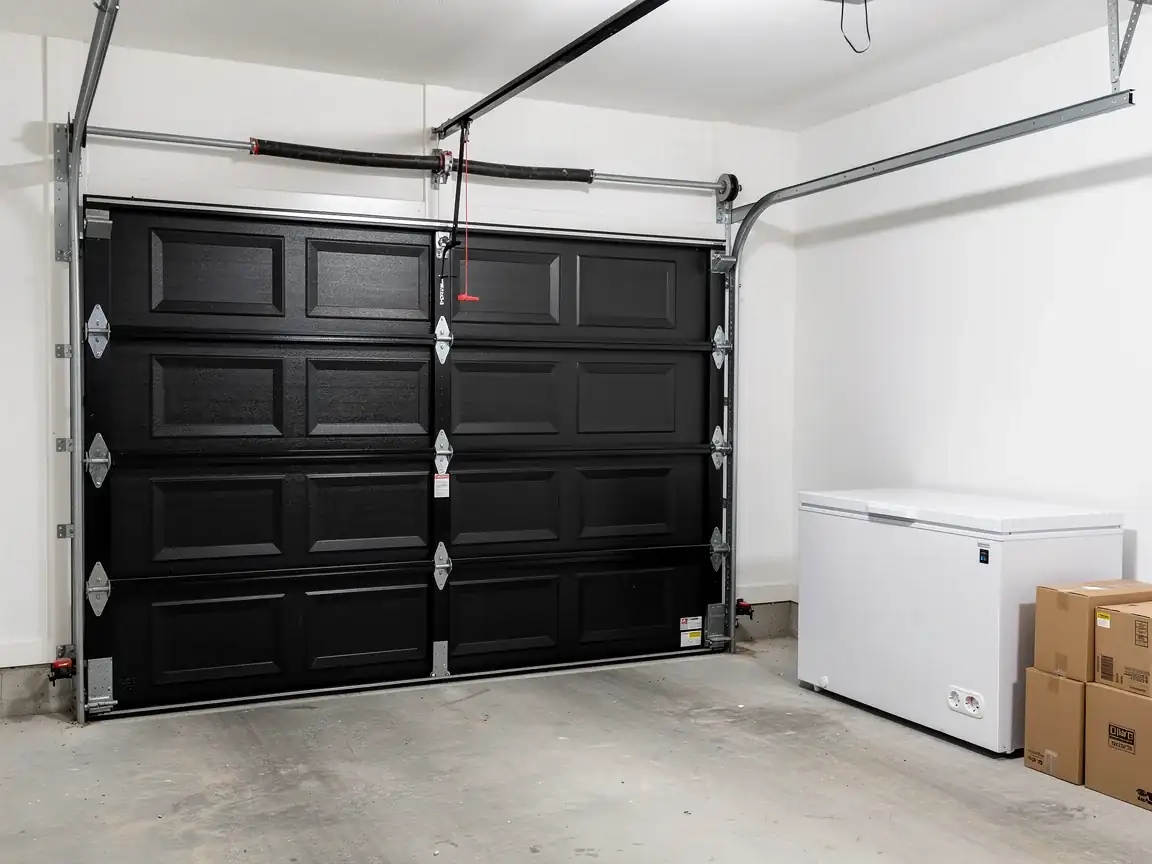
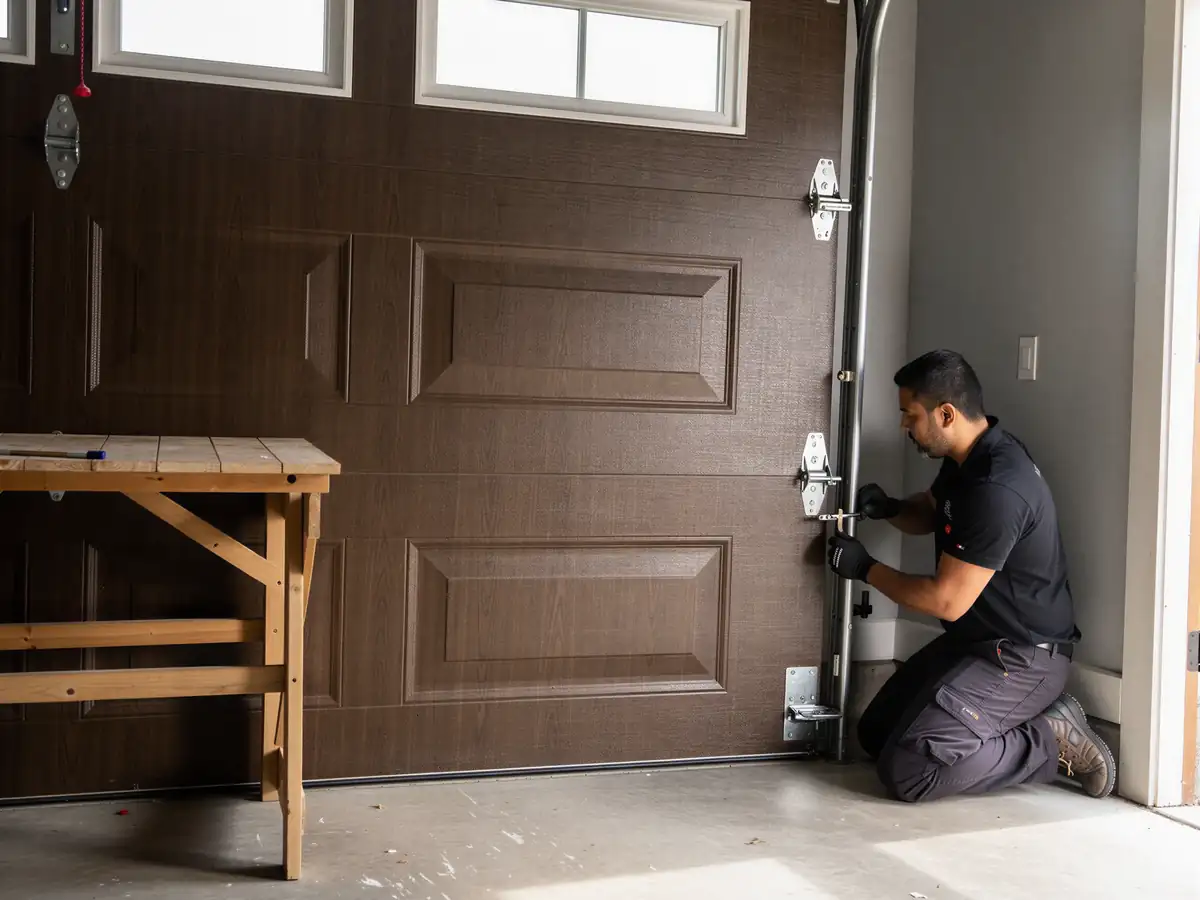
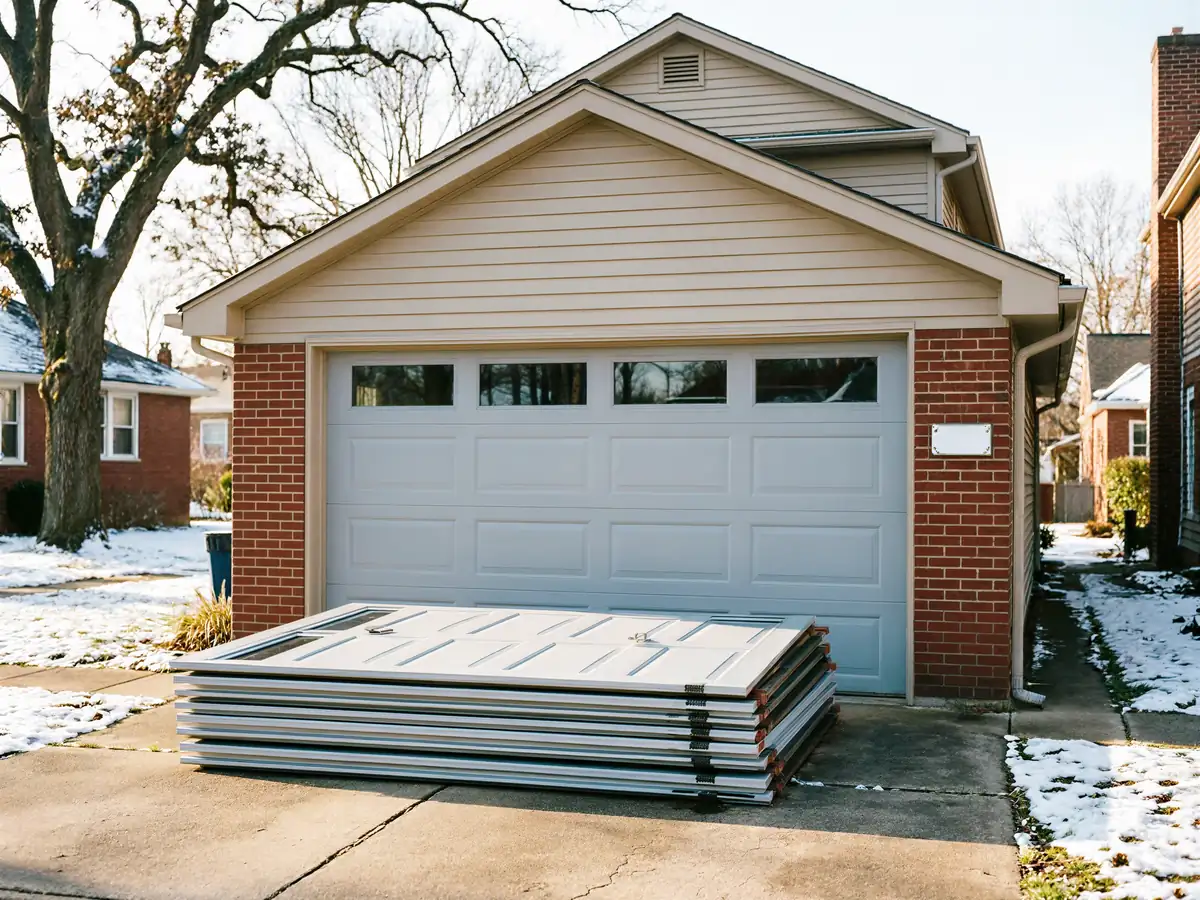
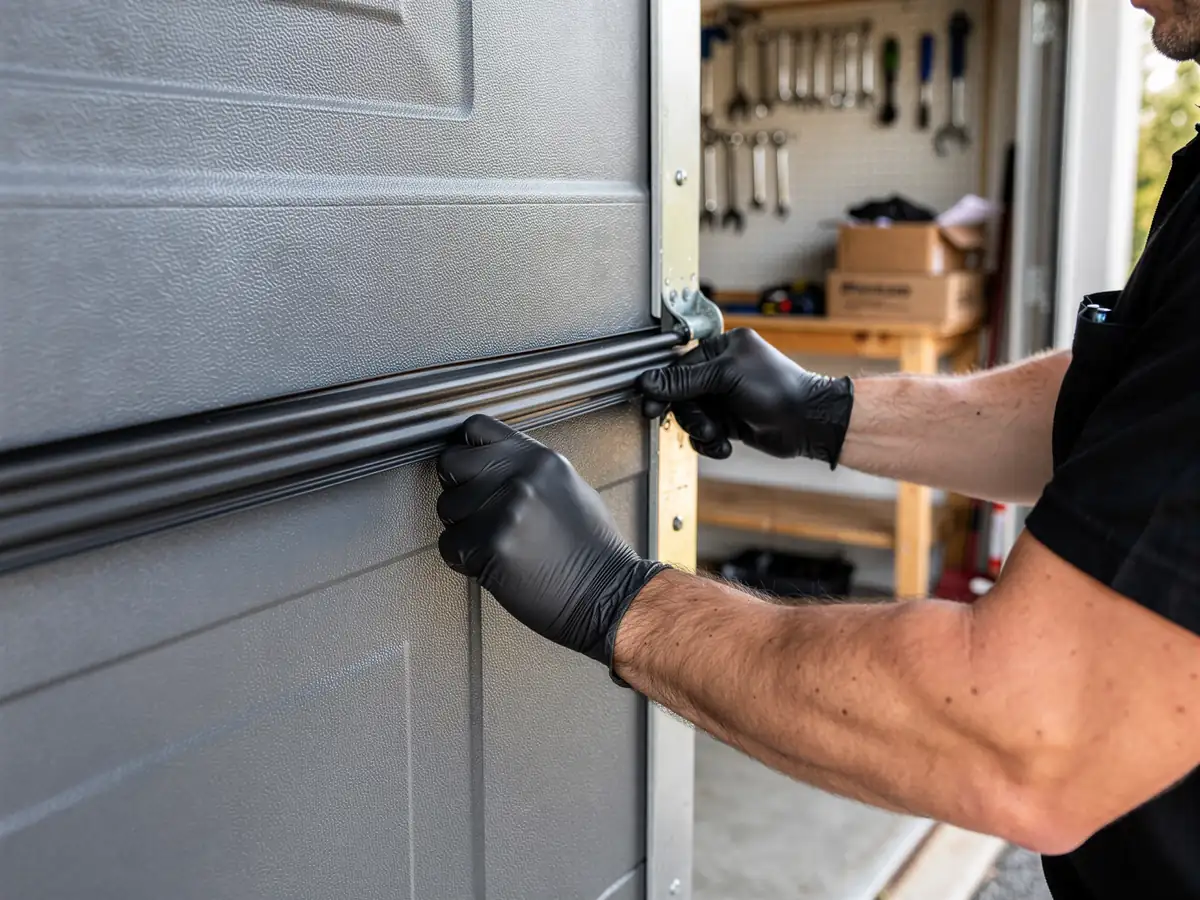
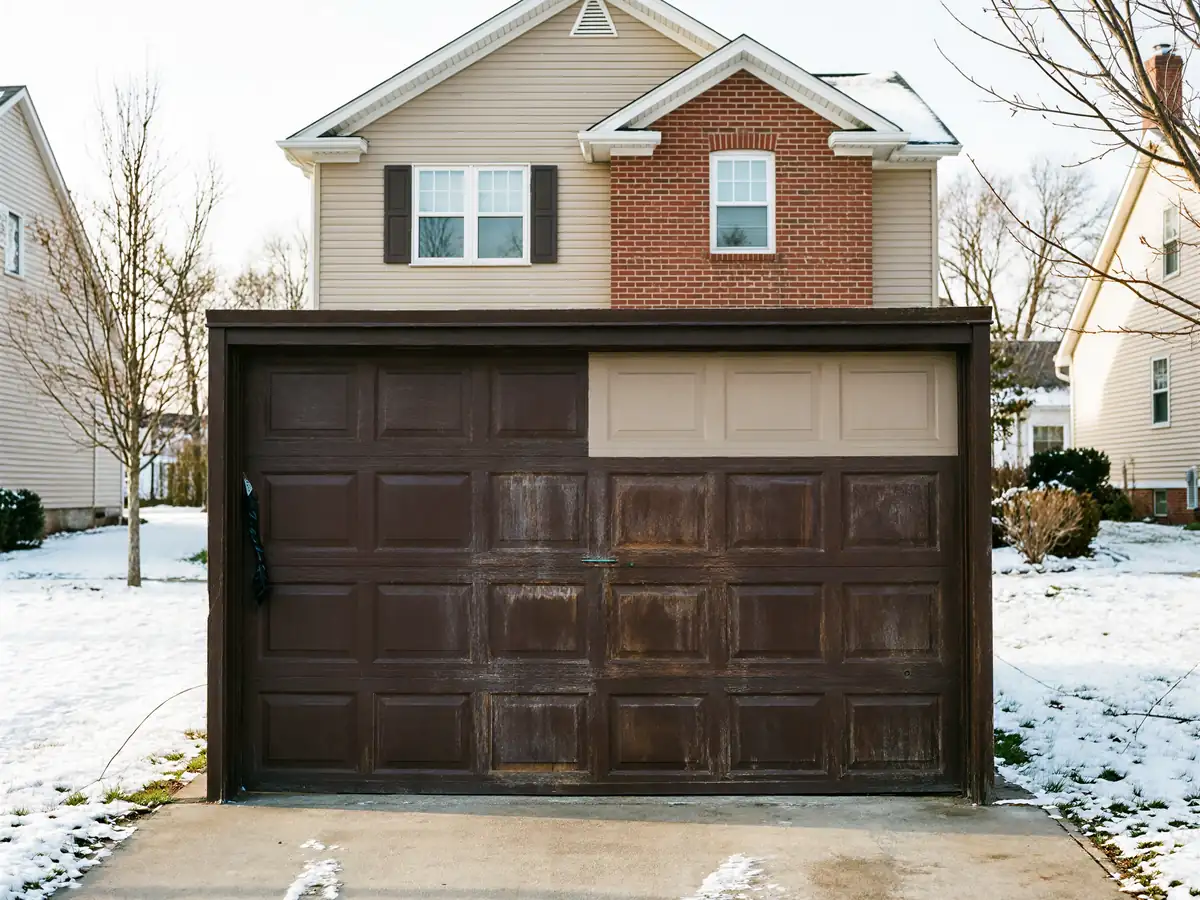
A panel swap starts with pulling the door's model and section number, then confirming the exact panel width and whether it's insulated or not. On a steel sectional door, the damaged panel gets unbolted from the hinges and rollers, the new one goes in, and the hardware gets re-torqued and the track alignment checked. If the door has foam-core insulation, that panel is heavier and the hinges sometimes need a different adjustment to keep the section from sagging at the seam. For a double-wide garage this usually means two matching panels rather than one, since a single new panel next to a faded original stands out and the seam doesn't seat the same. We don't repaint around the new panel to blend it in - if the finish has faded enough that a single new section looks wrong, that's a conversation about replacing more than one panel, not a paint job.
What You Are Seeing
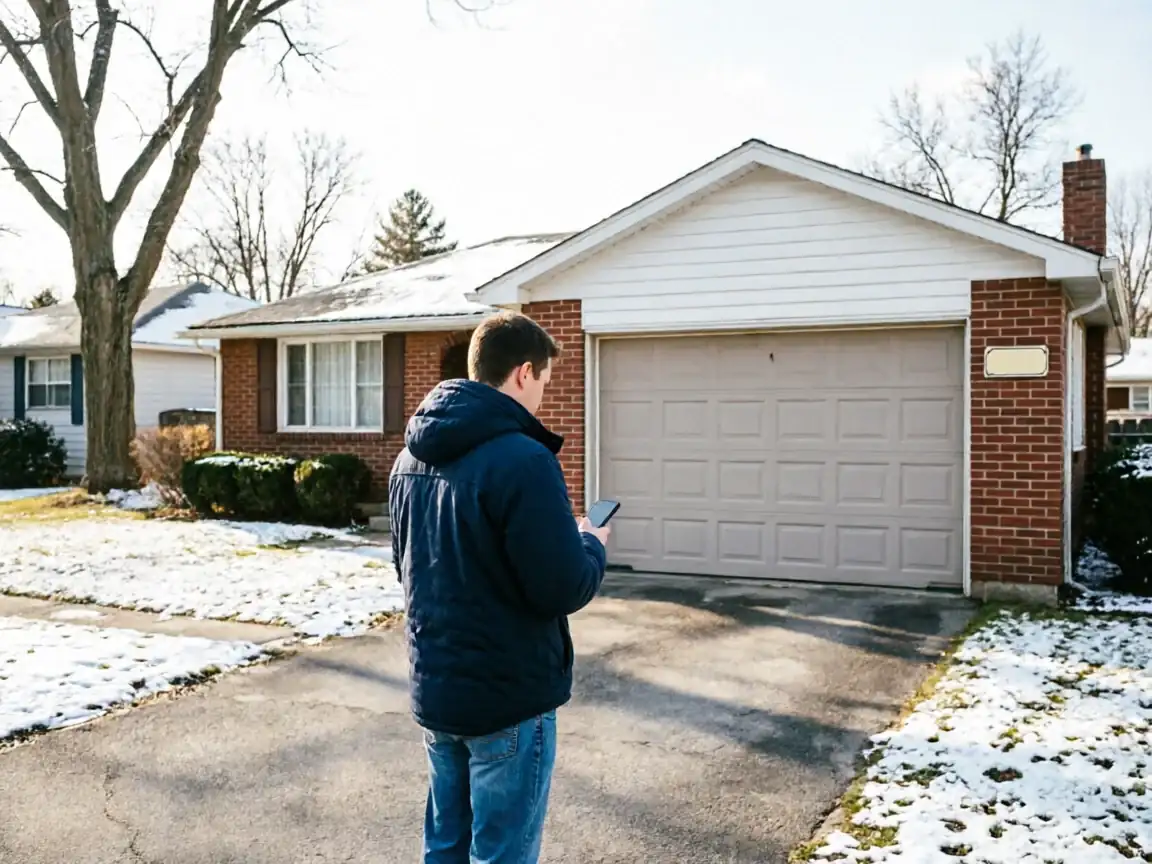
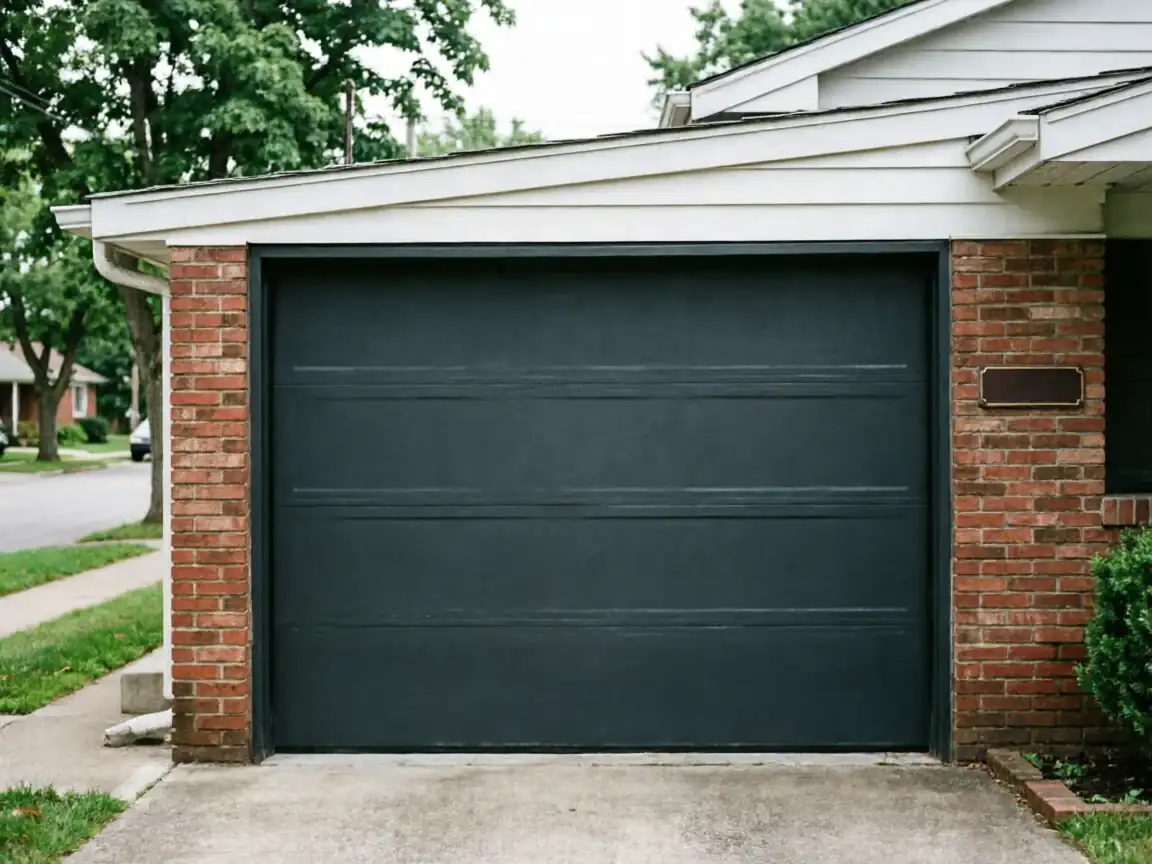
The usual signs are a dent from a backed-into car or a stray basketball, a panel that's bowed or cracked along a seam, or rust starting at the bottom section where snow melt and road salt sit against the steel over a winter. On a newer door - and most doors in Ashland are newer, going up around a median year of 2003 - you're more likely to see a cracked foam core behind a dented face than rot or warping, since these aren't the older uninsulated steel or wood doors you'd find on a house built decades earlier. A panel that's pulling away from its neighbor at the hinge, or a door that binds partway up the track, often points to a bent panel rather than a spring or opener problem, even though homeowners usually call it in as 'the door won't go up right.'
Can You Do This Yourself
Swapping a single panel is within reach for someone comfortable with a socket set and a torque wrench, provided the door is unplugged from the opener and the panel is ordered correctly - right width, right insulation type, right color code. Where people get stuck is color and finish matching. A panel that's spent years in the sun doesn't match a factory-fresh one even if the part number is identical, and most manufacturers won't custom-tint a single section to fade-match the rest of the door. Hinge alignment is the other sticking point: get it slightly off and the door binds on the track or the new panel won't sit flush with its neighbors. We'll say plainly that if more than one panel is damaged, or the door is more than about 15 years old, replacing the whole door is often cheaper and less frustrating than chasing discontinued panel parts.
Where This Job Goes Sideways
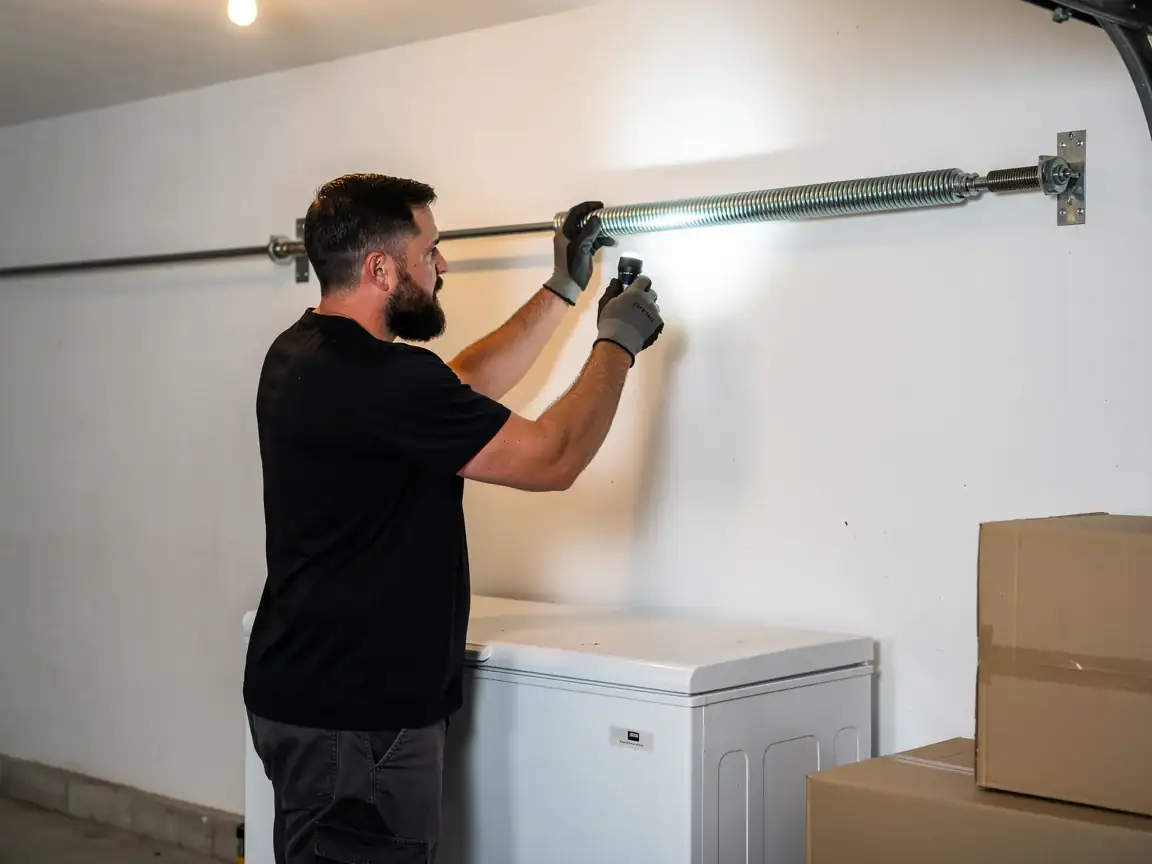
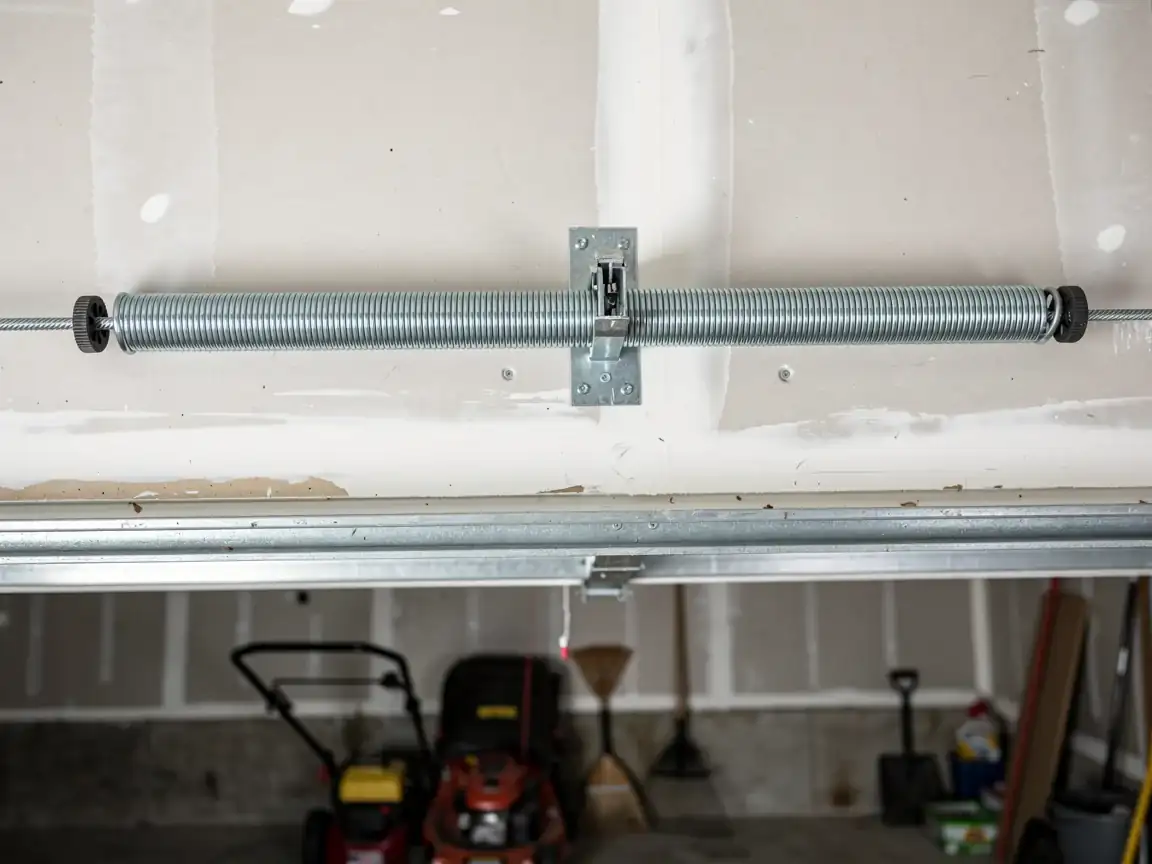
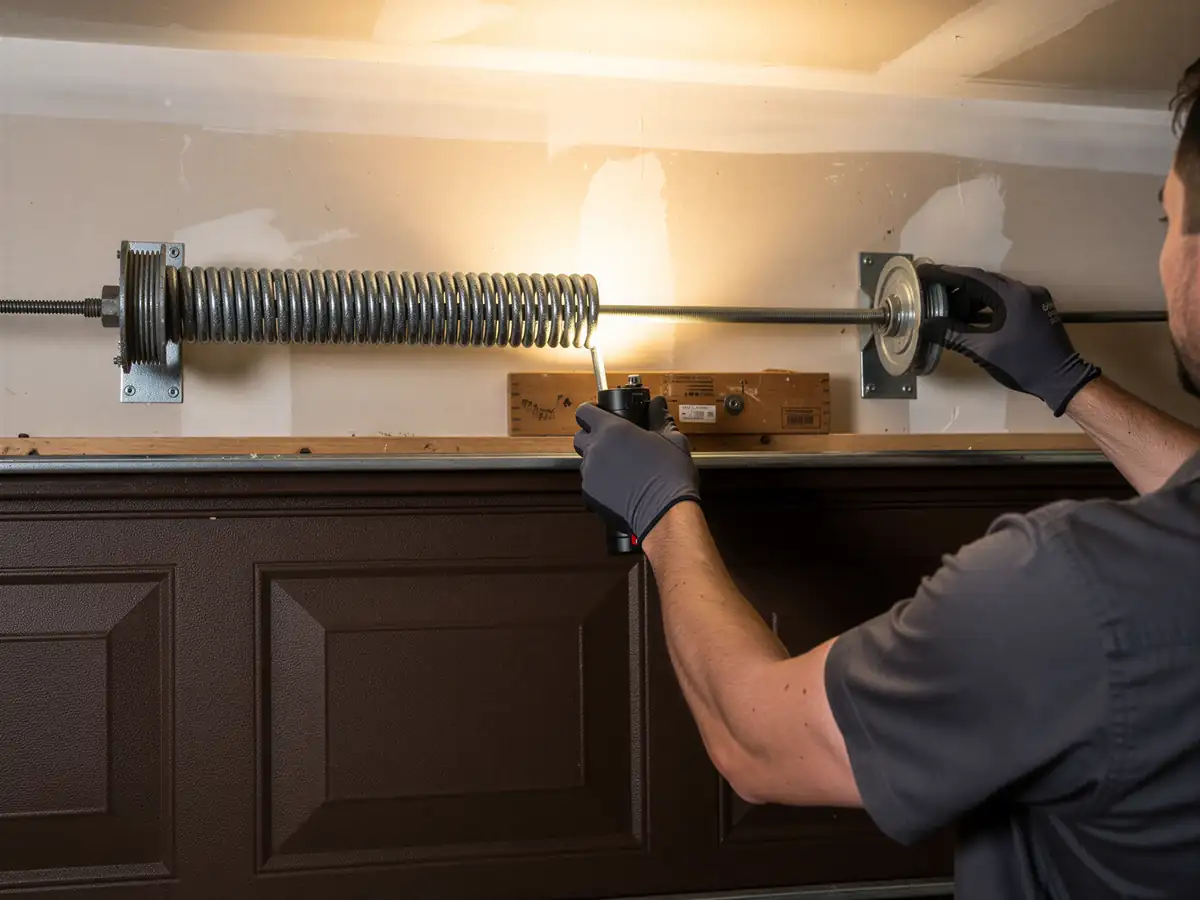
The most common mistake is ordering a panel by door brand alone without confirming the exact model and section height - doors look alike from the driveway but panel dimensions vary enough that a close guess won't bolt in clean. The second is insulation mismatch: swapping in a non-insulated panel next to insulated sections changes the door's weight balance and can throw off spring tension, which shows up later as a door that's hard to lift by hand. Cold weather adds a third wrinkle - installing a foam-insulated panel when the garage and the panel itself are near freezing can keep the adhesive from curing the way it should, so the seal fails again sooner than it would on a mild-day install. None of these are dramatic failures day one. They show up as a slightly harder-to-lift door or a seam that starts separating again within a year, and by then it's a second service call instead of one job done right.